Why I Set My Alarm for 4 AM Every Fishing Day (And Why You Should Too)
Dawn and dusk fishing has gotten complicated with all the contradicting advice and old wives’ tales flying around. As someone who has dragged myself out of bed before sunrise more times than I can count over the past fifteen years, I learned everything there is to know about why those magic hours produce more fish than any other time of day. Today, I will share it all with you.
Let me be blunt: if you are only fishing from 10 AM to 2 PM, you are missing the best part. Dawn and dusk are not just slightly better than midday. They are dramatically, overwhelmingly, almost unfairly better. And it is not superstition or some fishing tradition passed down by old timers who did not know any better. The science backs it up completely.
Fish Can See in the Dark Better Than You Think
Here is something that blew my mind when I first learned it. Predatory fish have eyes loaded with rod cells — the photoreceptors that work best in dim light. On top of that, many species have this reflective layer behind their retina called the tapetum lucidum. Same thing cats have. It bounces light back through the retina twice, basically giving them built-in night vision.
So during dawn and dusk, your target fish can see perfectly well. But the baitfish they eat? Those little guys are struggling. They cannot see the danger coming. That sensory mismatch is what triggers the feeding frenzy. Bass, walleye, pike — they all know this window and they exploit it ruthlessly.
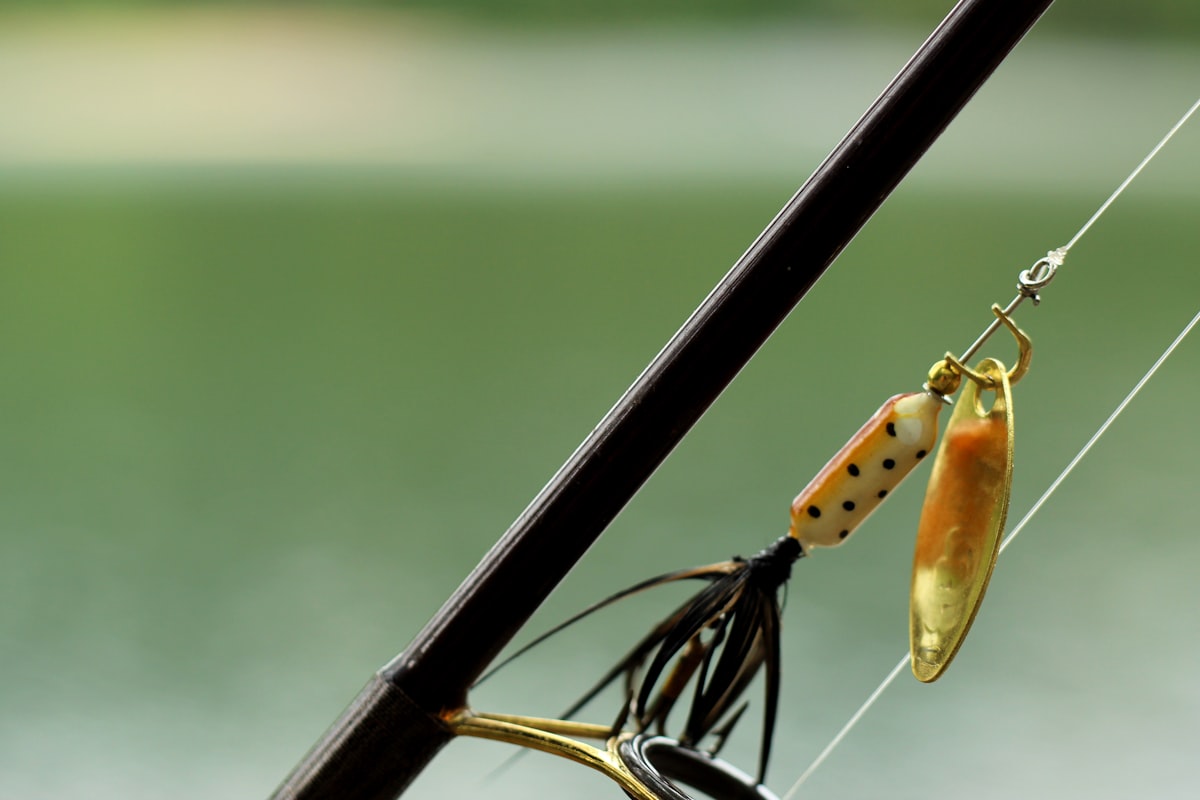
The low-angle light creates shadows and broken patterns across the water that help predators sneak up on prey. Structure that fish might avoid at noon becomes prime ambush territory. This is exactly why throwing a buzzbait along a weedline at 6 AM produces explosive strikes that you just do not get at midday. I have watched a four-pound bass launch completely out of the water to hit a topwater plug at dawn. Try getting that to happen at 1 PM. Good luck.
Water Temperature — The Hidden Trigger
Temperature is something most casual anglers completely overlook when it comes to timing. Water temps swing throughout the day, and fish feel every fraction of a degree.
In summer, surface water bakes all afternoon. By 3 or 4 PM it can be uncomfortably warm, even for warm-water species. As evening rolls in, that surface layer starts cooling. Fish that have been parked deep in their thermal comfort zone notice immediately and start sliding shallow. You get this perfect convergence — the light is dropping, the temperature is dropping, and fish are moving into range right as conditions favor their ambush style of feeding.
Morning works a bit differently. Overnight cooling stabilizes everything, and those first rays of sunshine create a brief window of ideal conditions before the heat builds. Fish recognize this instinctively. They feed hard and fast, then pull back to deeper water as the sun climbs. I have had mornings where the bite was absolutely on fire for 45 minutes and then just shut off like someone flipped a switch.
The Food Chain Wakes Up at Twilight
Probably should have led with this section, honestly. Everything in the food chain kicks into gear during low-light periods. Aquatic insects time their hatches for dawn and dusk — it is an evolutionary strategy to avoid daytime predators. Those hatches pull baitfish to the surface. Baitfish at the surface pull gamefish shallow. It is a chain reaction that happens like clockwork.
During the day, baitfish schools stay tight and deep. Safety in numbers, safety in depth. But at twilight, those schools break up and scatter. Individual baitfish become isolated and vulnerable. Easy pickings for a largemouth sitting under a dock.
Watch the water surface at dawn. Dimples, swirls, nervous baitfish skipping — those are all signs that predators are underneath and actively feeding. Terrestrial insects get active during these hours too. Beetles, ants, and moths end up in the water, and opportunistic fish do not pass up a free meal.
How I Make Every Minute of the Magic Hour Count
Here is the thing about magic hours: they are short. You get maybe 45 minutes to two hours depending on cloud cover and time of year. You cannot waste that window retying rigs or looking at your map.
I do all my prep the night before. Rods rigged. Tackle organized. Boat ready to go. I want to be making my first cast as the sky starts to lighten, not fumbling with a headlamp trying to tie a Palomar knot.
During that window, I fish high-percentage spots only. Points, shallow flats next to deep water, spots where I have caught fish during twilight before. No experimenting. No exploring new water. Save that for the midday lull when the bite dies anyway.
I throw moving baits — spinnerbaits, buzzbaits, topwater walking baits, moderate-retrieve crankbaits. Covering water is the name of the game. When I catch one, I slow down and work that area thoroughly. That’s what makes dawn and dusk fishing endearing to us early risers — when you find them, you usually find a bunch of them.
When the Rules Do Not Apply
I would be lying if I said dawn and dusk are always the best times. Heavy overcast days can extend that magic-hour feeling all day long. Reduced light essentially mimics twilight from morning to evening, and I have had some of my best days under a thick cloud layer at 2 PM.
Cold fronts mess everything up. After a strong front passes through, the surface bite dies regardless of time. Fish might still eat, but they are hugging bottom and they want something slow and subtle. Finesse over power, even during what would normally be a productive twilight period.
Some species genuinely prefer midday. Catfish in summer get active when other fish go dormant. Certain panfish species too. And on heavily pressured waters, fish sometimes flip their schedule completely, feeding during off-hours when the parade of bass boats finally goes home.
Pushing Past Dusk Into the Dark
The magic does not stop when the sun dips below the horizon. A lot of species keep feeding well into the night, especially in summer when daytime temps are brutal. Learning the dusk-to-dark transition can add serious productive time to your outings.
Once full darkness hits, fish switch from sight-feeding to lateral-line feeding. They are tracking vibration and water displacement instead of chasing what they can see. That means loud, thumpy lures: big black spinnerbaits, Colorado-blade models, noisy topwater plugs. Fish push even shallower at night — I am talking one to three feet of water in some cases.
Dock lights and bridge lights are money after dark. They attract bugs, bugs attract baitfish, baitfish attract your target species. Moon phase matters too. Full moon and new moon periods seem to fire up the night bite more than the quarter phases, at least in my experience.
A word on safety since I would feel terrible if I did not mention it. Know the water before you fish it in the dark. Make sure your nav lights work. Tell someone where you will be and when you plan to return. Night fishing rewards are real, but they are not worth a trip to the emergency room. Fish smart and get home safe.