Chair making represents the pinnacle of woodworking skill, combining joinery precision, ergonomic understanding, and aesthetic design. While challenging, building chairs teaches techniques that improve all your woodworking. Start with proven designs before attempting original creations—the fundamentals apply whether building simple kitchen chairs or sculptural art pieces.
Understanding Chair Design
Ergonomic Basics
Comfortable chairs share key dimensions:
- Seat height: 17-18 inches for dining, 15-16 inches for lounge
- Seat depth: 15-18 inches from front to back
- Seat width: 16-20 inches minimum
- Back angle: 95-105 degrees from seat for dining, greater recline for lounging
- Seat angle: 0-5 degrees tilting back for comfort
Weight and Stress
Chairs endure tremendous forces—a 180-pound person leaning back generates hundreds of pounds of stress on rear leg joints. Every joint must be strong, well-fitted, and properly glued. There’s no room for “good enough” joinery in chair building.
Chair Styles for Beginners
Three-Legged Stools
Start with simple stools to learn leg-to-seat joinery. Three legs always sit flat—no wobbling to correct. Round mortises and tapered tenons are forgiving for beginners.
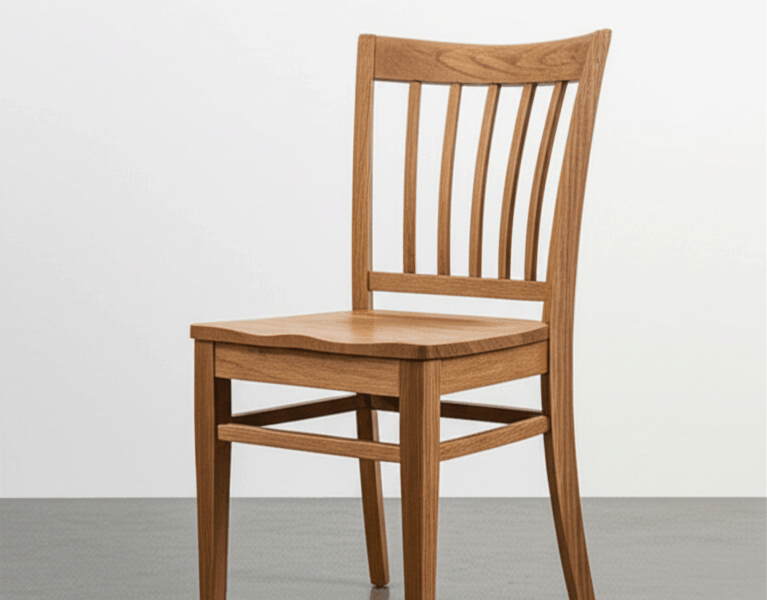
Simple Side Chairs
Basic four-legged side chairs teach fundamental techniques. Choose designs with straight legs and simple backs before attempting curves and complex shapes.
Windsor Chairs
Despite complex appearance, Windsor construction uses understandable techniques. Turned legs, steam-bent bows, and wedged through-tenons create surprisingly strong and comfortable seating.
Essential Joinery
Mortise and Tenon
The workhorse joint for chair construction. Chair mortise and tenon joints should be:
- Sized for maximum glue surface without weakening stock
- Fitted precisely—neither loose nor forced
- Glued with quality adhesive (hide glue or PVA)
- Clamped adequately during cure
Round Mortises for Legs
Many chair designs use round mortises drilled at compound angles into solid wood seats. The mating leg tenons are tapered, sized for a tight fit. A wedge driven into a kerf in the tenon expands it within the mortise for a mechanical lock.
Bridle Joints
Often used where seat rails meet legs, bridle joints provide good glue surface and resist the specific stresses chairs encounter.
Working with Angles
Unlike casework with its right angles, chairs feature compound angles everywhere:
- Legs splay outward for stability
- Seat rails may angle front to back
- Back legs transition from vertical to angled above the seat
- Stretchers connect legs at yet more angles
Build jigs to hold workpieces at correct angles for boring and fitting. Mark parts clearly—chair joints are not interchangeable.
Bending Wood
Steam Bending
Steam bending creates the curved backs and bows of many chair styles. Heat and moisture plasticize wood fibers, allowing bending around forms. Success requires:
- Straight-grained stock free of defects
- Adequate steaming time (one hour per inch of thickness)
- Quick transfer from steam box to form
- Adequate drying time in the form
Lamination Bending
Thin strips glued over a form create stable curves. More predictable than steam bending but requires more material and produces visible glue lines.
Assembly Strategies
Chair assembly demands planning:
- Dry-fit completely before any glue
- Rehearse clamping setup and sequence
- Work in sub-assemblies when possible
- Have all clamps ready and adjusted
- Work quickly but carefully once glue is applied
Finishing
Chair finishes must resist abrasion and body oils. Oil finishes penetrate and can be renewed easily. Film finishes provide more protection but may wear through at contact points. Whatever you choose, apply multiple coats and allow full cure before use.
Your first chair will teach more about woodworking than dozens of simpler projects. Accept the challenge—the satisfaction of sitting in a chair you built yourself is unmatched.


Stay in the loop
Get the latest wildlife research and conservation news delivered to your inbox.