
Look, I will be honest with you – I spent way too much money on my first record player stand. It was one of those cheap particle board things from a big box store, and within six months the whole thing was sagging in the middle from the weight of my turntable and records. Lesson learned the hard way.
Since then, I have built probably a dozen record player cabinets for myself and friends. Some turned out great, others… well, let us just say they taught me what NOT to do. Here is what I have figured out after years of trial and error.
Why Most Store-Bought Record Furniture Falls Apart
The problem with 90 percent of what you will find online is that manufacturers do not actually understand how heavy vinyl collections get. A hundred records weighs about 35-40 pounds. Add a decent turntable (another 15-25 pounds), maybe an amplifier, and you are looking at 60+ pounds on what is essentially glorified cardboard.
I remember helping a buddy move his Ikea Kallax full of records. We had to completely empty it first because the back panel was literally buckling. Those things work okay for books, but records are a different beast entirely.
What Actually Works – Based on My Screw-Ups
After building furniture that failed and furniture that lasted, here is what I have found matters most:
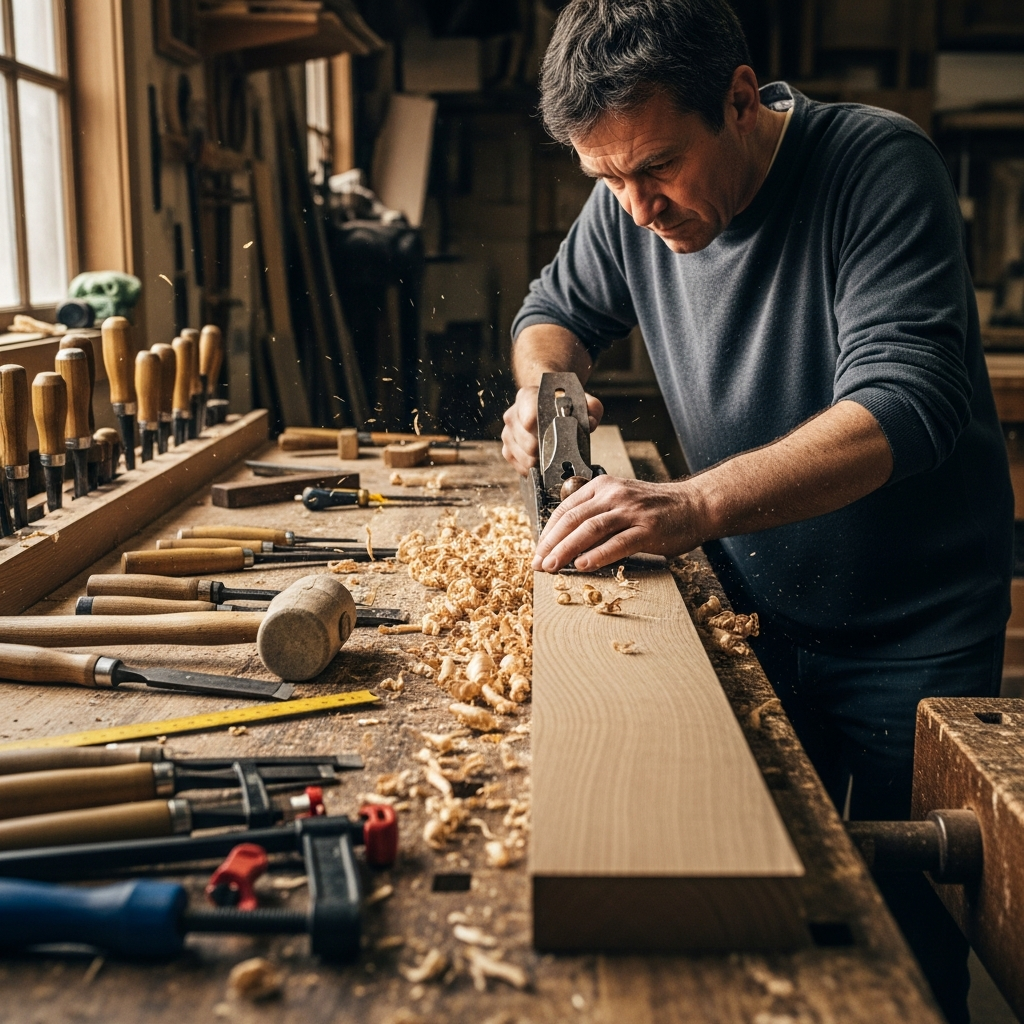
Solid wood beats everything. I know, I know – it is more expensive. But oak, walnut, or even poplar will outlast any MDF or plywood project. My first oak record cabinet was built in 2018 and it still looks brand new. Meanwhile I have replaced two nicer looking manufactured pieces in that same time.
Leg design matters more than you would think. Those hairpin legs that are so trendy right now? They actually work well because they transfer weight straight down. What does not work is those angled mid-century legs without proper bracing – I learned this when a cabinet I built tipped over because the joints could not handle the lateral stress.
Forget about enclosed speaker compartments. Old console stereos had built-in speakers in the cabinet itself. Cool looking, terrible idea. The vibration from the speakers travels through the cabinet and causes the turntable needle to skip. Happened to me, drove me absolutely crazy until I figured out what was going on.
Different Setups for Different Spaces
My workshop is pretty small, so I have gotten creative with designs over the years:
The simple stand approach: If you just have a turntable and maybe 50 records, a basic open-shelf stand works fine. I built one from leftover 2x10s and some heavy-duty shelf brackets – took maybe two hours and cost under forty bucks. Not pretty, but rock solid.
The serious collector setup: A friend of mine has over 2,000 records. For him I built a wall-mounted shelving system that runs along two walls of his listening room. Floating shelves with heavy-duty French cleats. The whole thing can probably hold a small car.
Apartment-friendly options: When I was renting, I could not put holes in walls. Built a tall, narrow bookshelf-style piece that held about 200 records plus the turntable on top. The key was making the base wider than the top so it would not tip.
Materials I Actually Recommend
This is gonna sound old-fashioned, but hardwood is worth the investment. I have worked with walnut, oak, cherry, and maple for record furniture, and they all perform well. Walnut looks the best in my opinion, but oak is more forgiving if you make a mistake during finishing.
If you are on a budget, birch plywood is a decent compromise. Get the good stuff – 3/4 inch cabinet grade, not the construction-grade junk. Edge band it properly and it will look fine.
Skip the pine unless you want dents. Record corners are surprisingly sharp and will absolutely destroy soft wood over time. Found that out when I built a pine crate for storage – looked like it went through a war after a year of use.
The Vibration Problem Nobody Talks About
Here is something that took me embarrassingly long to figure out: turntables are insanely sensitive to vibration. Walking across the floor, the bass from your speakers, even heavy traffic outside – all of this can cause the needle to jump or create that low rumbling sound in your recordings.
What works is mass and isolation. I add rubber isolation feet under every turntable platform I build now. Just some 1-inch sorbothane pads from Amazon, maybe fifteen bucks for a set. Makes a huge difference.
The other thing that helps is weight. A heavier platform vibrates less. I usually make turntable shelves from 1-inch thick hardwood or double up on plywood. Yeah it is overkill, but it works.
Cable Management – Do Not Be Like Me
Nothing ruins a nice setup like a rats nest of cables hanging out the back. I learned this after posting a photo of one of my builds and someone commented asking if I was running a telephone switching station.
Now I always drill holes in the back panel and add some basic cable channels. You can buy those plastic cable management clips pretty cheap, or just route them through hooks on the back. Takes an extra 20 minutes during the build but saves a lot of frustration later.
Building Your Own vs Buying
Real talk: if you are not into woodworking, do not torture yourself trying to build record furniture from scratch. There are some decent options out there if you know what to look for.
The vintage route can be great. Old stereo consoles from the 60s and 70s are often built like tanks. You can usually find them at estate sales for under a hundred bucks. Gut the old electronics, add a new turntable, and you have got a conversation piece.
If you are buying new, look for solid wood construction, NOT wood veneer or wood finish (those are code words for particle board with a pretty skin). Check the weight capacity. If the listing does not mention weight capacity, that is a red flag.
My Current Setup
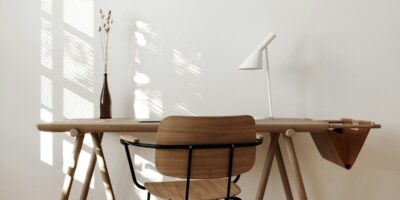
After all these years, here is what I ended up with in my own listening room: a custom walnut console I built with my dad a few years ago. It is nothing fancy – just a simple credenza design with open shelving on the left side for records and a closed cabinet on the right for the amp and other gear.
The turntable sits on a separate floating shelf above it, mounted to wall studs with some serious hardware. This keeps it completely isolated from any vibration from the speakers or people walking around.
Total material cost was probably around three hundred dollars, but I have seen similar pieces sell for two grand or more at furniture stores. That is the thing about building your own – the savings are real.
Final Thoughts
Record player furniture does not need to be complicated or expensive. The best piece is one that actually works for your space and your collection. Start simple, figure out what you need, and do not be afraid to make mistakes. That is how you learn.
If I could go back and tell myself one thing when I started, it would be this: build it stronger than you think you need to. Records are heavy, collections grow, and you do not want to be rebuilding in two years.


Stay in the loop
Get the latest wildlife research and conservation news delivered to your inbox.