Building a kitchen island has gotten complicated with all the Pinterest boards and furniture store markups flying around. As someone who built three kitchen islands for different houses before figuring out what actually works, I learned everything there is to know about this project the hard way. Today, I will share it all with you.
Here’s the math that convinced me to build my first one: commercial islands start around $1,000 for particle board with veneer surfaces. Quality solid wood climbs to $3,000 or more. Build one yourself and you’re looking at $400-600 in materials for something that exceeds showroom quality. The skills required are within reach of any intermediate woodworker.
Why This Design Works
This island measures 48 inches long, 30 inches deep, and 36 inches tall—standard counter height. Open shelving on one side, cabinet storage on the other, butcher block top, integrated towel bar. Everything a working kitchen actually demands.
That’s what makes this project endearing to us woodworkers who cook—it solves real problems instead of just looking pretty in photos.
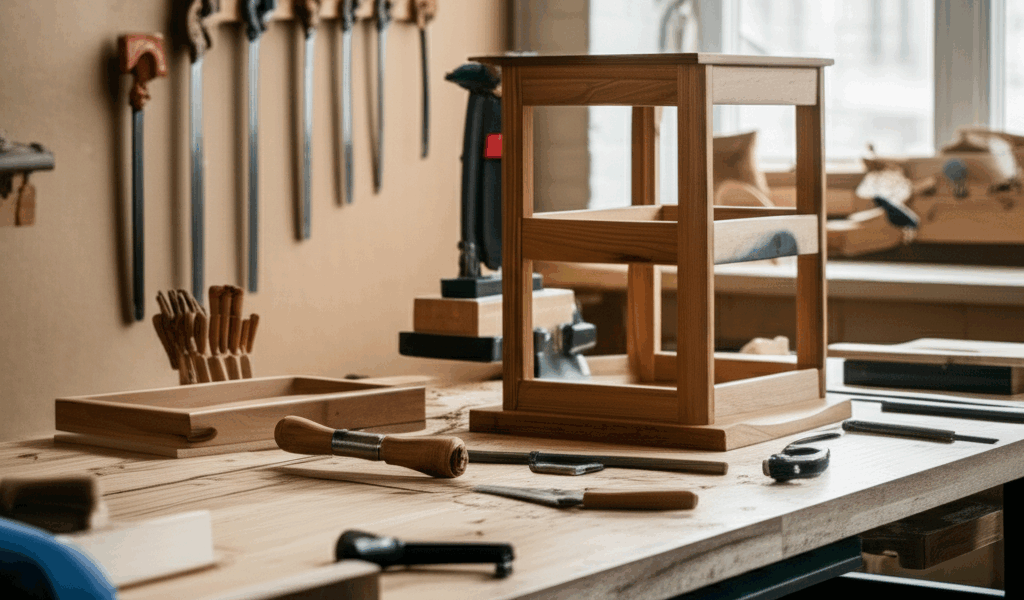
Base Frame Construction
Build the base frame from 2×4 construction lumber. Yes, the same material used in house framing. It provides the rigidity a working island demands—you’re going to lean on this thing, prep food on it, and possibly have guests sit at it. Flimsy doesn’t cut it.
Cut four legs at 34-1/2 inches (counter height minus top thickness). Connect them with horizontal rails using mortise and tenon joints. Front and back rails measure 44 inches long; side rails measure 26 inches.
Position rails with their top edges flush with leg tops, creating a frame that supports the island top. Add lower rails positioned 8 inches from the floor for structure and shelf support.
Probably should have led with this: add corner brackets at every rail-to-leg intersection. Shop-made from scrap, cut at 45 degrees, glued in place. These prevent racking forces from loosening the island over years of daily use.
Panel Installation
Wrap the base frame with panels appropriate to your design intent. For furniture-quality appearance, use 1/4-inch hardwood plywood with solid wood edge banding. For a more rustic look, use shiplap boards or beadboard panels that add texture.
One side stays open for shelving; the opposite side gets door panels for closed storage. The ends can be paneled or left partially open based on your kitchen’s traffic patterns.
Cabinet Storage
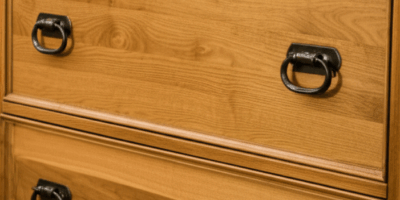
Build the closed cabinet section with a fixed shelf at mid-height and overlay doors that conceal the interior. Frame-and-panel doors look most furniture-like; flat panel doors with edge banding offer easier construction and a more contemporary look.
Use European concealed hinges for clean sight lines when doors are closed. Include soft-close mechanisms—slamming cabinet doors at 6 AM annoys everyone. Add a magnetic catch at the center where doors meet to eliminate visible handles while keeping doors secure.
Open Shelving
The open side benefits from adjustable shelf pins. Drill 1/4-inch holes at 2-inch intervals in both end panels for maximum flexibility—cookbooks, small appliances, and decorative items all have different heights.
Cut shelves 1/4-inch narrower than the opening for easy installation. Round all shelf edges—exposed shelving gets constant contact with hands and arms during kitchen work.
Butcher Block Top
Edge-glue hard maple boards to create a solid butcher block top measuring 48 by 30 inches and 1-1/2 inches thick. Alternate growth ring orientation in adjacent boards to minimize cupping. Let the glued-up panel acclimate for several days before final dimensioning.
Round top edges with a 3/8-inch roundover bit, then sand through 180-grit. Finish with food-safe mineral oil or cutting board finish. Butcher block tops require periodic refinishing—plan to reapply oil monthly for the first year, quarterly thereafter. It becomes routine.
Hardware and Details
Install a towel bar on one end. Chrome or brushed nickel complements most kitchen finishes. Add locking casters if you want mobility, or leveling feet if the island stays put.
Attach the top using figure-8 fasteners that allow seasonal wood movement. The butcher block will expand and contract with humidity changes; rigid attachment guarantees cracking eventually.
The Bottom Line
Beyond financial savings, building your own island provides dimensions and features precisely matched to your kitchen. Commercial islands force compromises. Yours can incorporate exactly the storage configuration, height, and aesthetic details your space demands.
That level of customization simply isn’t available at any price in retail furniture. The island becomes yours in a way store-bought never can.