
Nobody Teaches You How to Actually Build a Table
I watched probably fifty YouTube videos before I built my first table. Every single one made it look easy. Grab some wood, cut it to size, screw it together, done. What they do not show you is the three trips back to the lumber yard because your boards were cupped. Or the hour you spend trying to figure out why nothing is square.
This is what I wish someone had told me before I started.
Forget Fancy Joinery at First
Look, I love a good mortise and tenon joint as much as the next woodworker. But if you are building your first table, use pocket screws and move on with your life. You can get philosophical about traditional joinery after you have a functional table in your dining room.
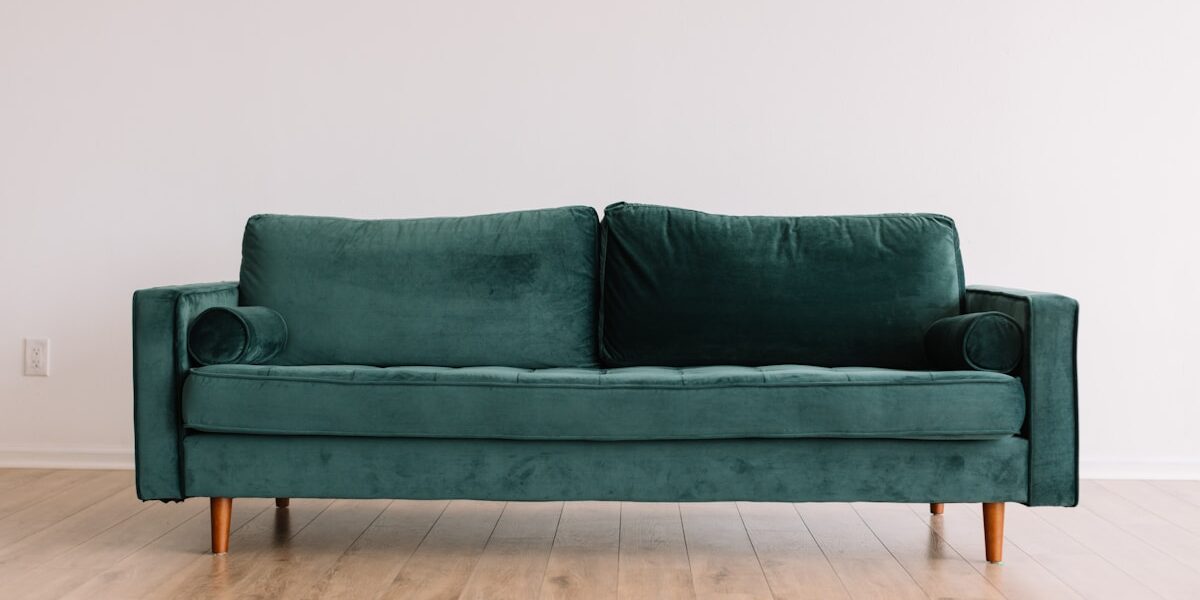
The table I eat dinner on every night? Pocket screws holding the apron to the legs. Has been solid for six years. My kids have climbed on it, I have dropped cast iron skillets on it, the thing does not care.
Picking Your Lumber
Spend time at the lumber yard. Seriously. Do not just grab the first boards you see. I made that mistake and ended up with pieces that were twisted so badly I could only use half of what I bought.
Sight down the length of each board. Look for twist, bow, cup. Some movement is normal and you can flatten it, but badly warped stock is just going to fight you the whole build. Not worth the headache.
For tabletops, I prefer boards that are 6 to 8 inches wide. Wider boards look great but they move more with humidity changes. Narrower boards mean more glue lines. There is a sweet spot in there somewhere.
The Glue Up is Where Things Go Wrong
My first tabletop glue up was chaos. Glue everywhere. Boards sliding around. One clamp slipping off. Swearing. Lots of swearing.
Now I do it differently. Dry clamp everything first and mark the boards so I know what goes where. Get all your clamps ready before opening the glue bottle. Apply glue, work fast but do not panic, and clamp in the middle first then work toward the ends.
Also: use more clamps than you think you need. You cannot really over-clamp a tabletop.
Flattening the Top
Unless you have a drum sander or really wide jointer, you will need to flatten the tabletop by hand after glue up. A hand plane works but takes forever. A router sled is faster but you need to build the sled first.
I use a combination. Get it mostly flat with the router sled, then finish with a smoothing plane and sanding. Takes a couple hours but the result is worth it.
Building the Base
Keep the base simple for your first table. Four legs connected by an apron. That is it. You can get creative with tapered legs or stretchers once you have the basics down.
The legs should be attached to the apron in a way that allows the tabletop to expand and contract with humidity. Wood movement is real and it will crack your top if you do not account for it. I use figure-8 fasteners or elongated screw holes in the apron. Lets the top move without splitting.
Dimensions That Work
Standard dining table height is around 30 inches. Do not deviate much from this unless you want weird looks from people trying to eat. Anywhere from 29 to 31 inches works fine.
For a rectangular table, figure about 24 inches of table width per person. A 60 inch long table seats 6 if you squeeze. 72 inches is more comfortable. Width of 36 to 42 inches works for most dining situations.
The Finish Makes or Breaks It
I have ruined more projects with bad finishing technique than bad joinery. Sand to at least 150 grit, some folks go higher but I cannot tell the difference past 180 honestly.
Wipe the whole thing down with a tack cloth before finishing. Every speck of dust shows up in the final coat. Apply thin coats, sand lightly between coats with 320 grit, and be patient. Rushing the finish never ends well.
For a dining table that will see spills and hot plates, I go with a wiping polyurethane or conversion varnish if I have spray equipment. Oil finishes look beautiful but they do not hold up as well to daily abuse.
It Gets Easier
Every table I build now takes about half the time my first one did. You develop a rhythm, you stop second-guessing yourself, and you actually start enjoying the process instead of just surviving it.
So get started. Your first table probably will not be perfect. Mine sure was not. But it will be yours, and there is something pretty great about eating dinner on something you built with your own hands.

Stay in the loop
Get the latest wildlife research and conservation news delivered to your inbox.