Shaker furniture has gotten complicated with all the modern “farmhouse” interpretations flying around Pinterest. As someone who studied the original Shaker pieces in museums and built reproductions for years, I learned everything there is to know about what makes authentic Shaker design work. Today, I will share it all with you.
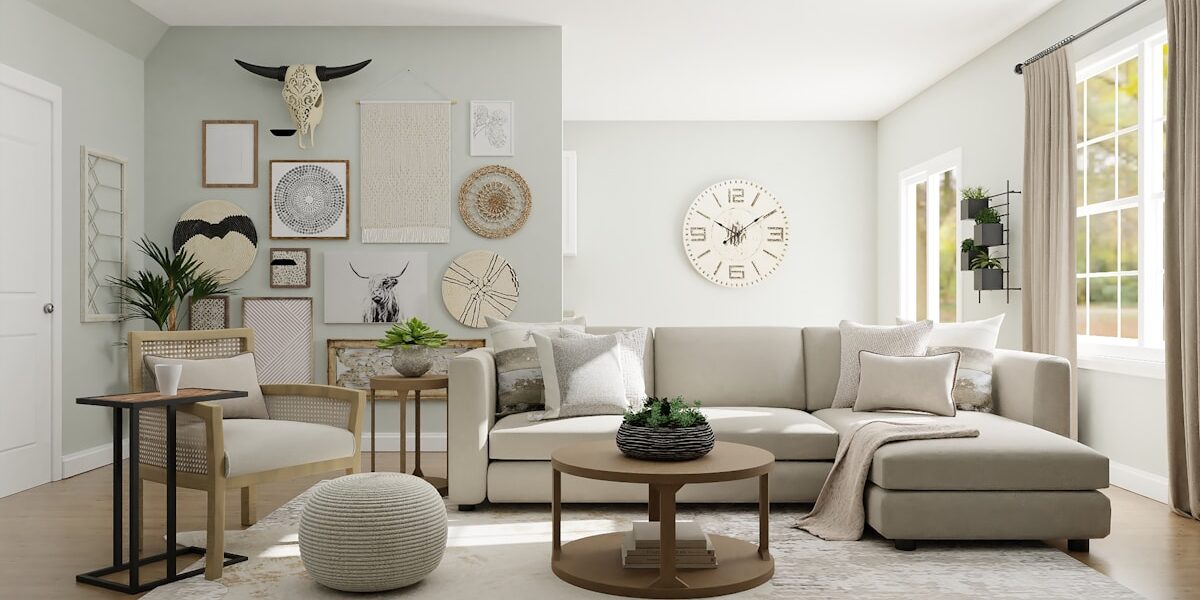
The Shakers understood something fundamental that most woodworkers miss: quality construction and honest proportions never go out of style. A Shaker pantry cabinet built today looks as contemporary as it did 200 years ago because the design principles are timeless. No ornament means nothing dates it.
That’s what makes Shaker furniture endearing to us woodworkers—it rewards skill and punishes shortcuts. You can’t hide poor joinery under decoration. Either the work is good or it isn’t.
Why This Cabinet Works
This cabinet stands 84 inches tall, 36 inches wide, and 18 inches deep. Those dimensions maximize storage while fitting standard ceiling heights. Frame-and-panel construction, adjustable shelving, clean lines that complement any kitchen from farmhouse to modern.
Built from select pine or poplar, it costs under $200 in materials. Placed in a kitchen, it looks like a $2,000 custom installation. The value proposition is absurd—which is why I keep building these for friends.
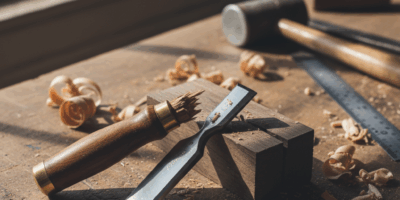
Frame-and-Panel Door Construction
The doors define Shaker style. Build door frames from 2-1/2 inch wide stiles and rails, joined with traditional cope-and-stick joinery. This joint creates the characteristic reveal around the panel while providing structural integrity—no dowels, biscuits, or metal fasteners required.
Probably should have led with this: if you have a matched cope-and-stick router bit set, the joinery takes minutes per door. Without specialized bits, mortise and tenon joints work equally well. Cut a 1/4-inch deep groove in the inner edge of each frame member to receive the panel, then join frames with standard mortise and tenon.
Flat panels suit the Shaker aesthetic better than raised panels. Cut panels from 1/4-inch plywood for paint-grade work or solid wood planks for natural finish. Panels float in their grooves without glue, allowing for seasonal wood movement.
Building the Carcass
Build the cabinet body from 3/4-inch plywood with solid wood facing on all visible edges. This combination provides stability that solid wood can’t match at this scale, while the edge banding creates the appearance of solid lumber construction.
The sides are simple rectangles, 84 by 18 inches. Connect sides with fixed top and bottom panels using dado joints—cut dados 3/8 inch deep, positioned to create a 4-inch toe kick space at the bottom and flush alignment at the top. A fixed center shelf at 42 inches provides structural rigidity for tall cabinets. Don’t skip this—tall cabinets rack without it.
Adjustable Shelving
Drill shelf pin holes using the 32mm European system—holes spaced 32mm apart vertically, positioned 2 inches from front and back edges of each side panel. A drilling jig ensures consistent alignment. Make the holes 1/4 inch in diameter, 1/2 inch deep.
Cut adjustable shelves 1/4 inch narrower than the interior width for easy installation. Edge-band the front of each shelf with solid wood matching the face frame. The back edge can remain as exposed plywood since it’s not visible in use.
Face Frame Construction
The face frame covers the cabinet front, creating door openings and that traditional furniture appearance. Build it from 2-inch wide stiles and 3-inch wide rails, joined with pocket screws (hidden in back) or mortise and tenon joints (for purists like me).
The frame should overhang the cabinet sides by 1/4 inch, creating a reveal that shadows the joint between frame and box. Attach the face frame with glue and brad nails, filling nail holes with color-matched wood filler.
Door Installation
Use inset doors for authentic Shaker appearance—doors that sit flush within the face frame opening rather than overlapping it. This requires precise fitting, with 1/8-inch gaps all around for smooth operation.
I won’t pretend inset doors are easy. They require patience and possibly some foul language. But the result is worth it.
Install doors with non-mortise hinges or traditional butt hinges. Shaker originals often used wooden turn buttons as catches; for modern functionality, consider magnetic catches hidden behind the door edges. Add simple wooden knobs—the Shakers favored turned maple knobs in a gentle mushroom shape.
Finishing
Paint was common on Shaker furniture, typically in muted tones: cream, gray-blue, sage green, or mustard yellow. Use quality latex paint over oil-based primer for durability. Sand between coats with 220-grit for a smooth, professional surface.
For natural finish, select clear-grain pine or poplar and apply penetrating oil or wiping varnish. The Shakers valued workmanship over elaborate finish—simplicity should extend to your topcoat as well. Don’t overthink it.
The Bottom Line
This cabinet represents 20-25 hours of focused work. The result is storage furniture that serves for generations while reminding you daily that the best design is the simplest that works.
The Shakers got furniture design right. Two centuries later, we’re still copying them. That should tell you something.