Router Tables – Making Your Router Actually Useful
I used a handheld router for three years before getting a router table. Looking back, Im not sure how I managed. The table transforms a handheld tool into something way more precise and way safer.
Heres the thing – a router table is basically a giant, stable base with your router mounted underneath. The bit sticks up through a hole, you run your workpiece past it, and you get consistent, repeatable profiles. Sounds simple because it is. But that simplicity opens up a lot of possibilities.
Why Bother With a Table
Handheld routing is fine for some things. Edge profiles on big pieces, mortises, template work. But for anything where you need precision or youre making multiples, the table wins.
Try routing a dozen identical rails for a cabinet door by hand. Youll get close, but each one will be slightly different. On a router table with the fence set right, all twelve come out identical. Fit together perfectly. That consistency is the point.
Safety is the other big factor. A router bit spinning at 20,000 RPM will grab your workpiece and throw it if things go wrong. With a handheld router, that means the tool goes flying. On a table, the workpiece might move but the router stays put. Also, your hands stay further from the bit. Both improvements.
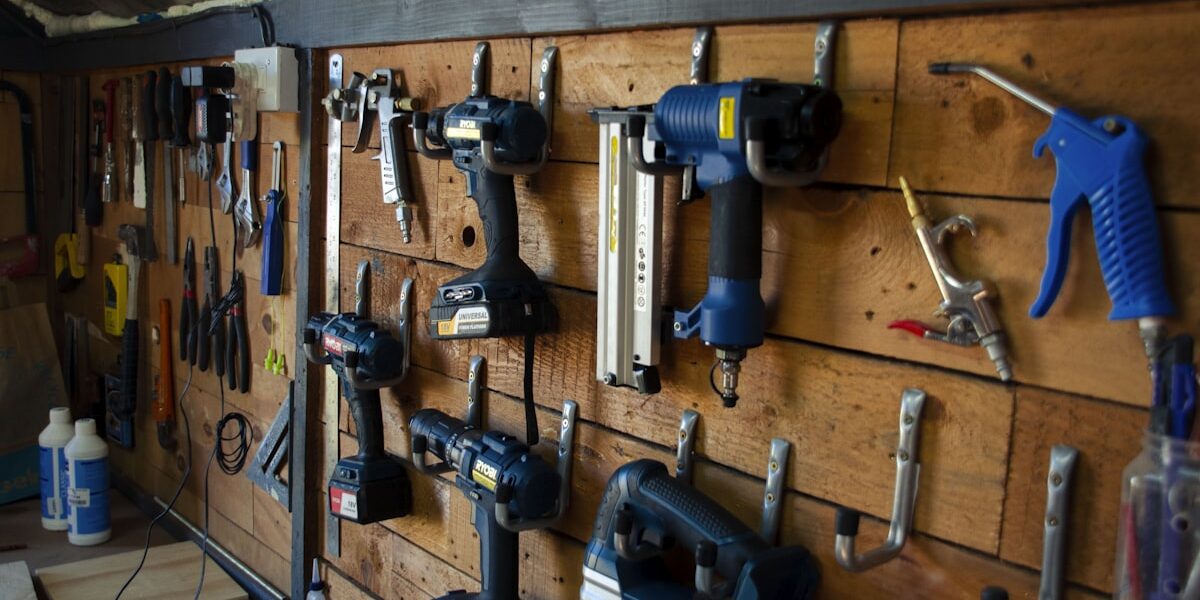
Tables Ive Used
Started with a homemade table – router bolted to the underside of a piece of MDF, clamped to my bench. It worked, sort of. The fence was two straight boards clamped down. Adjustments took forever. But it proved the concept enough that I upgraded.
My current setup is a Bosch RA1181. Mid-range table, been using it for about four years. Aluminum top stays flat, the fence adjusts easily, dust collection actually works pretty well. Not fancy, but solid.
Ive used a friends Kreg PRS1045, which is nicer than mine. The fence on that thing is incredible – precise, easy to adjust, locks down rock solid. If I were buying again Id probably stretch for that one.
Also borrowed a Bench Dog cast iron table once for a big project. Heavy as anything, but dead flat and absolutely no vibration. Thats the high end and I can see why people want it, but its also heavy enough that moving it would be a project in itself.
What Actually Matters
Flatness of the top. A warped top means inconsistent cuts, period. Aluminum and cast iron stay flat. MDF can warp over time. Plastic is a gamble.
The fence. Ive said it already but the fence matters so much. It needs to lock down parallel to the miter slot and stay there. Split fences – where you can adjust each side independently – give you better chip clearance and better control.
Router compatibility. Most tables work with most routers, but check first. The mounting plate situation varies and if your router doesnt fit the included plate, youre buying an extra part before you can use the thing.
Dust collection. Routing makes a ridiculous amount of sawdust. A table with decent dust ports hooked to a shop vac makes a huge difference. My early homemade setup had nothing for dust and it was miserable.
Setting Up Right
Getting the router table tuned is critical and took me embarrassingly long to figure out.
The insert plate needs to be perfectly flush with the table surface. Even 1/64 inch off and youll feel it in your work. Most plates have adjustment screws at the corners. Take the time to get it perfect.
The fence needs to be parallel to the miter slot. If its not, your cuts will be angled slightly and nothing will fit right. Check with a reliable square.
Bit height matters more than you think. For edge profiles, I set up with the actual workpiece, creep up to the right height, then lock it down. Running test pieces in scrap first is worth the extra minute every single time.
My Common Uses
Edge profiles on tabletops and shelf edges. A roundover or a chamfer bit on the router table takes maybe thirty seconds per edge once youre set up. By hand would take forever.
Rabbets and dadoes. Yeah, you can do these on a table saw with a dado stack. But sometimes the router table is already set up and it works great.
Raised panels for cabinet doors. This is where a router table really earns its keep. Multiple passes with a panel raising bit, final pass light and slow, and you get a traditional look without hand tools.
Joinery. Loose tenon joints, lock miters, drawer joints – all doable on a router table with the right bits and setups. Ive made jigs that let me cut consistent joints all day long.
Safety Habits
Always feed against the rotation of the bit. On most router tables thats right to left when youre facing the fence. Feed the wrong way and the bit will grab your work and potentially throw it.
Use featherboards. These are spring-loaded things that hold your workpiece against the fence and table while you push it through. My router table setup has three featherboards now. The hold-down pressure makes everything safer and the cuts cleaner.
Never start a cut with the workpiece already touching the bit. Make contact after the bit is spinning at full speed. Otherwise the bit can grab and launch the piece before you know whats happening.
Push sticks and push blocks. Your fingers dont need to be anywhere near the bit, ever. I use the same push stick setup I use for the table saw.
Buying Recommendations
If youre just starting out and money is tight, build one. MDF top, homemade fence, whatever router you have. Youll learn what you actually want from a router table before spending real money.
If you want something ready to go, the Bosch RA1181 is solid for the price. Better than budget options, not as nice as premium, but itll handle everything most hobbyists throw at it.
If you want the best and dont mind paying, the Kreg PRS1045 is the standard recommendation. That fence is worth the premium. The whole system is just really well thought out.
Whatever you get, pair it with a decent router. A table is only as good as the motor under it. I run a 2.25 HP router and its plenty for everything Ive done.


Stay in the loop
Get the latest wildlife research and conservation news delivered to your inbox.