DIY Carriage Doors
DIY Carriage Doors
Carriage doors add a rustic charm to homes. They’re versatile, functional, and a popular choice for garages. Building them yourself can be rewarding.
Materials You’ll Need
- Wood planks (typically cedar, pine, or redwood)
- Quality wood screws
- Wood glue
- Sandpaper
- Wood stain or paint
- Hinges and door hardware
- Measuring tape
- Circular saw
- Drill
- Clamps
- Level
Choosing the Right Wood
Choose durable wood like cedar, pine, or redwood. These types resist rot and insects. They stand up to weather better than softer woods. Purchase wood that has been planed and straightened.
Measuring Your Space
Measure the width and height of the opening. Add a half-inch to each side for clearance. This will be your door dimensions. Divide by two for the dimensions of each door if making double doors.
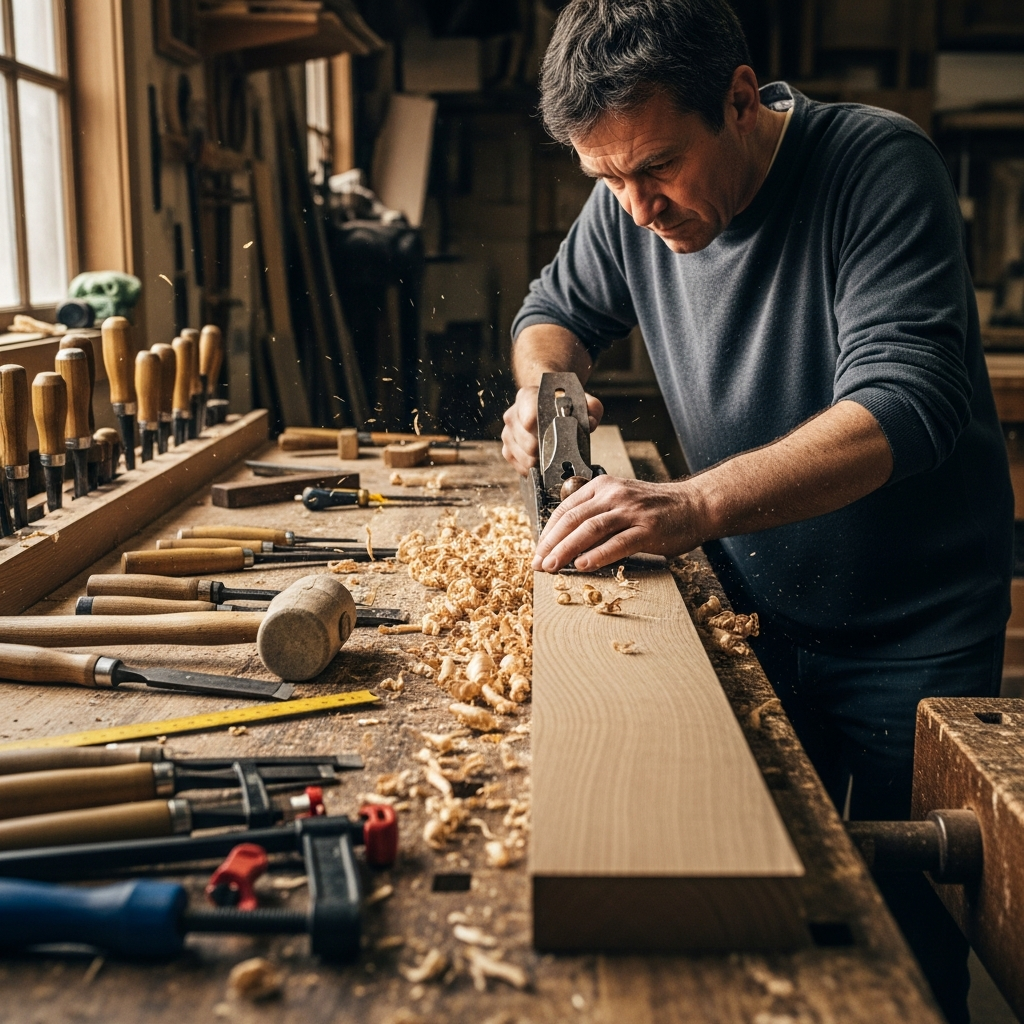
Cutting the Wood
Cut vertical stiles and horizontal rails according to your measurements. Use a circular saw for accuracy. Smooth the edges with sandpaper to avoid splinters. Ensure all pieces are uniform for a tight fit.
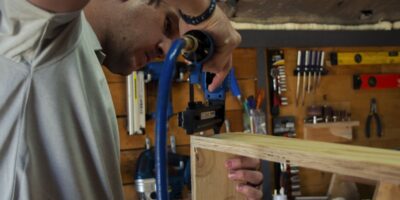
Assembling the Frame
Place the vertical stiles on a flat surface. Apply wood glue to the ends of the horizontal rails. Attach the rails to the stiles with wood screws. Use clamps to hold the frame together as the glue dries. Check that the frame is square using a level.
Adding Vertical Planks
Cut planks to fit vertically within the assembled frame. Apply wood glue along the edges of the frame in small sections. Fit each plank snugly into place. Reinforce with screws for added stability.
Optional Cross Bracing
To add a traditional touch, install cross bracing. Cut two diagonal pieces to fit across the door. Place them in a “Z” pattern. Attach with wood glue and screws. This adds strength and an authentic look.
Sanding and Finishing
Once assembled, sand the entire door. Focus on smoothing rough edges and blending seams. Apply a wood stain or paint. Seal with a weather-resistant finish to protect against the elements. Allow adequate drying time between coats.
Installing Door Hardware
Begin by attaching hinges to the doors. Use heavy-duty hinges for durability. Mark the hinge placement on the door frame. Pre-drill holes to prevent wood from splitting. Secure hinges with screws. Attach handles and other hardware as desired.
Hanging the Doors
With assistance, hold the door in the opening. Align the hinges with the marks on the door frame. Insert screws into pre-drilled holes and secure tightly. Test the door swings smoothly. Make adjustments if necessary.
Adding Final Touches
Inspect the installed door for any gaps or misalignments. Add weatherstripping to the edges if needed. This ensures a tight seal to keep out drafts. Install any additional hardware like locks or decorative touches.
Building DIY carriage doors can enhance your home’s appearance. With careful measurement and quality materials, you’ll create functional, beautiful doors. Follow these steps for a rewarding project and a great addition to your home.


Stay in the loop
Get the latest wildlife research and conservation news delivered to your inbox.