
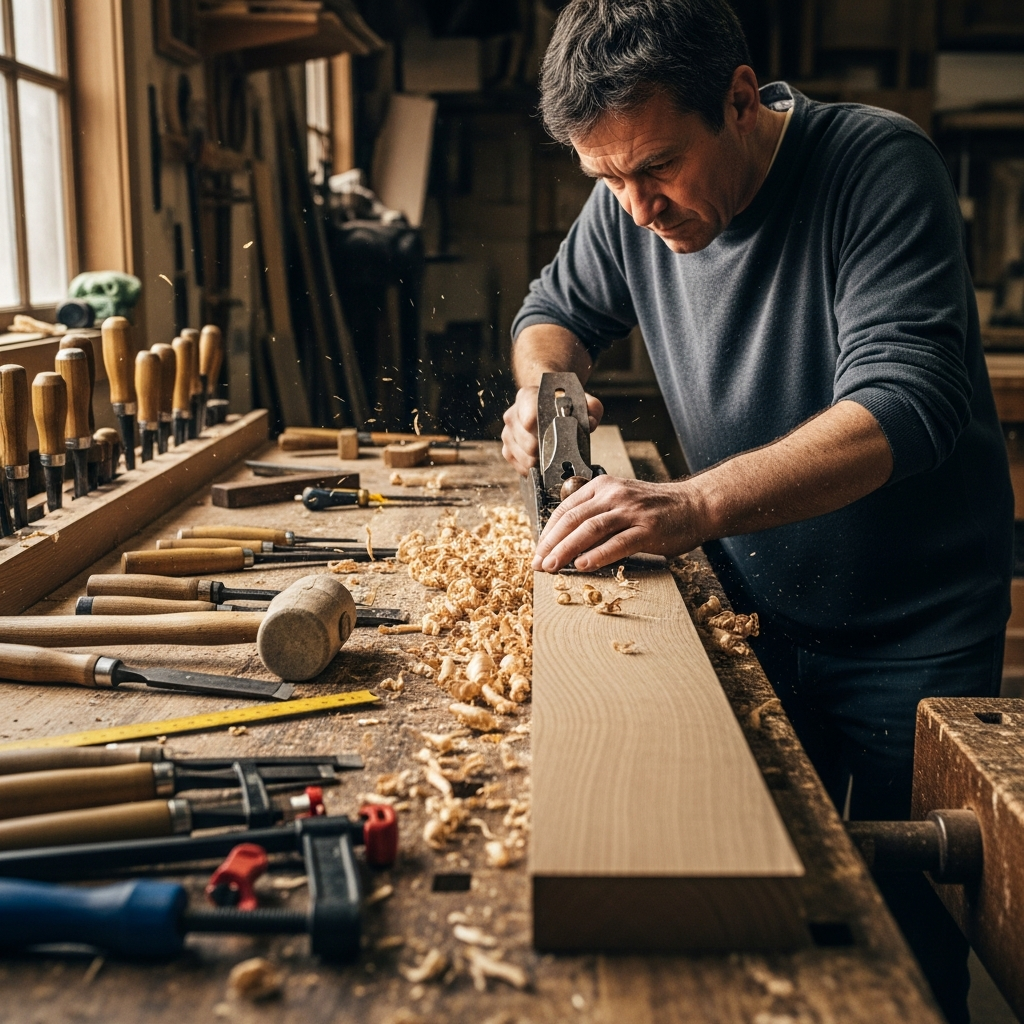
My wife asked for floating shelves in our living room about four years ago. How hard can it be? I thought. Famous last words. That first attempt is still in the garage, warped and sad, a reminder that floating shelves look simple but require more thought than youd expect.
Since then, Ive built probably 50 sets of floating shelves – for clients, for friends, for various rooms in our own house. Ive figured out what works, what doesnt, and why those cheap floating shelf kits from Target always end up sagging after six months.
Why Solid Wood Makes All the Difference
Lets get this out of the way: those hollow floating shelves with the particleboard core? Theyre fine for light stuff. Decorative items, a few small plants, maybe some picture frames. But the second you put real weight on them – books, dishes, anything substantial – they start to bow.
Solid wood handles weight differently. The fibers run the length of the board, creating natural strength. A 1.5-inch thick walnut shelf I made last year holds a full set of heavy cookbooks without any sag. Try that with particleboard.
Choosing Wood That Wont Warp
Heres where I screwed up that first attempt. I grabbed some beautiful figured maple from my stockpile and built the shelves. They looked incredible – for about two weeks. Then the central heating kicked on, the humidity changed, and suddenly I had canoes instead of shelves.
Some woods are just more stable than others. These are my go-to choices for floating shelves:
- White oak – My current favorite. Looks great, takes finish well, and the quartersawn stuff is incredibly stable. A little pricey, but worth it for visible installations.
- Cherry – Beautiful reddish tones that darken over time. Fairly stable, though Id avoid it for kitchens or bathrooms where humidity swings a lot.
- Walnut – Gorgeous color, relatively stable, but expensive. I save this for high-end client work.
- Hard maple – Very stable if you get flat-sawn boards. That figured stuff I love? Save it for projects that can tolerate some movement.
Whatever you pick, let the wood acclimate in the room where itll be installed for at least a week. I learned this the hard way too. Wood thats been sitting in an unheated shop needs time to adjust to indoor conditions before you work it.
The Hidden Bracket Situation
The whole point of floating shelves is that floating look – no visible supports. That means the hardware doing the real work is hidden inside the shelf. And this is where a lot of people go wrong.
Those cheap floating shelf brackets with the little L-shaped rods? They flex. A lot. Under any real weight, the shelf tips forward and eventually pulls away from the wall.
Heres what actually works:
Heavy-Duty Steel Brackets
I use 3/4-inch diameter steel rods, at least 6 inches long, welded to a plate that mounts to wall studs. The shelf gets mortised to slide over the rods. Its rock solid – Ive stood on shelves mounted this way without issue.
French Cleats
For really long shelves, a hidden french cleat is more stable than rods. You mount a beveled cleat to the studs, then a matching cleat on the back of the shelf hooks over it. The weight pushes the shelf tighter against the wall instead of pulling away. Ive used this method for 6-foot shelves with no center support.
What About Those Metal Floating Shelf Kits?
The better ones work okay. Shelfology and similar brands sell hollow steel frames that are stronger than the cheap hardware. But for solid wood shelves, I still prefer custom brackets. More work, better result.
Installation Tips From Many Mistakes
Even good hardware fails if you install it wrong. Heres what Ive learned:
Find the Studs. No, Actually Find Them.
I know you know this, but Ive seen so many floating shelf disasters because someone trusted a cheap stud finder or just hoped the toggle bolts would hold. For solid wood shelves with any real weight, you need to hit studs. Period.
My stud finder technique: find what it says is a stud, then verify with a small finish nail before committing. Ive been burned by stud finders that picked up pipes, old nails, or just random density changes in the drywall.
Level Matters Less Than You Think
Okay, controversial opinion here. Obviously you want your shelf roughly level. But Ive measured level floors and walls in dozens of houses, and almost none of them are actually level. If you mount a perfectly level shelf in a room thats slightly off, itll look crooked.
Instead, I use visual level. Stand back and eyeball it. Does it look level in the context of the room? Thats what matters.
Lag Bolts Are Your Friend
For heavy-duty installations, I use 3-inch lag bolts, not screws. The difference in holding power is significant. Predrill, use a socket wrench, and sink them until the bracket is tight against the wall.
Finishing for the Real World
Floating shelves in a living room get touched, bumped, and occasionally used as impromptu seats by kids who should know better. (Not that Im speaking from experience or anything.) Your finish needs to hold up.
For most installations, I use an oil-based polyurethane. Three coats, sanding with 320 between each. Its not the most artisan finish, but its durable and repairable. Shellac looks beautiful but shows every water ring. Danish oil is too soft for high-traffic shelves.
Kitchen and bathroom shelves get an exterior-grade poly, even though theyre indoors. The extra moisture resistance is worth the slight difference in appearance.
Common Problems and How to Fix Them
Some issues Ive encountered and solved over the years:
Shelf Tips Forward
Either the brackets are flexing or theyre not deep enough into the wall. Solution: longer, heavier rods or add a hidden french cleat along the back edge.
Visible Gap at the Back
Walls arent flat. If theres a gap between the shelf and the wall, scribe the back edge to fit. Easier than it sounds – just run a compass along the wall with a pencil in the compass, and itll transfer the wall contour to the shelf. Cut to that line and itll fit tight.
Finish Chips at Corners
Round over those edges. Even a tiny 1/16-inch roundover is more durable than a sharp corner. Plus it feels nicer to the touch.
What I Charge Clients (And Why)
For a set of three 36-inch walnut floating shelves, installed, Im usually at $800-1000. That includes premium lumber, custom steel brackets, proper installation, and a finish thatll last. Some people balk at the price until I show them what Im actually building versus that $29 kit from Amazon.
Is it expensive? Compared to cheap alternatives, sure. But solid wood shelves done right are furniture that happens to mount to the wall. Theyll outlast the house if the house doesnt burn down.
If youre doing it yourself, you can obviously save the labor cost. Material for a set of three might run $150-250 depending on the wood you choose. Worth it for something youll see every day for the next 20 years.


Stay in the loop
Get the latest wildlife research and conservation news delivered to your inbox.