“`html
What Causes Cupping and Why It Matters for Your Projects
Cupping has gotten complicated with all the moisture myths flying around. Walk into any woodworking forum and someone’s staring at a beautiful board that’s curved like a smile, wondering how it happened. That U-shaped warping that runs across the width? That’s cupping, and it’s almost always moisture-related. Wood moves. This isn’t a flaw — it’s wood being wood.
Here’s what actually happens. Wood absorbs and releases moisture from the environment constantly. When the edges of a board dry faster than the center (or vice versa), the surface that dries more shrinks more than the other side. The board cups toward the side that dried faster. You end up with a board that rocks on its edges instead of lying flat.
Why destroy your assembly plans? Two reasons, really. First, joints won’t close properly. A cupped board can’t mate flush with another piece — you’ll have gaps at the edges even if the center sits tight. Second, finished surfaces look wrong. A tabletop or cabinet side that’s wavy breaks the whole project, no matter how perfect your joinery is.
I made this mistake my first year woodworking. Glued up a walnut panel without flattening the cupped boards first, convinced the clamps would force them flat. They didn’t. The panel cupped right back up after I released the clamps, and I had to plane the whole thing down to salvage it — wasting about a quarter-inch of beautiful wood I should have addressed beforehand. Don’t make my mistake.
The Planing Method for Thin Boards Under 1 Inch
For boards under an inch thick — 3/4-inch pine, 7/8-inch poplar, even thin walnut — a thickness planer is your fastest fix. But the sequence matters enormously.
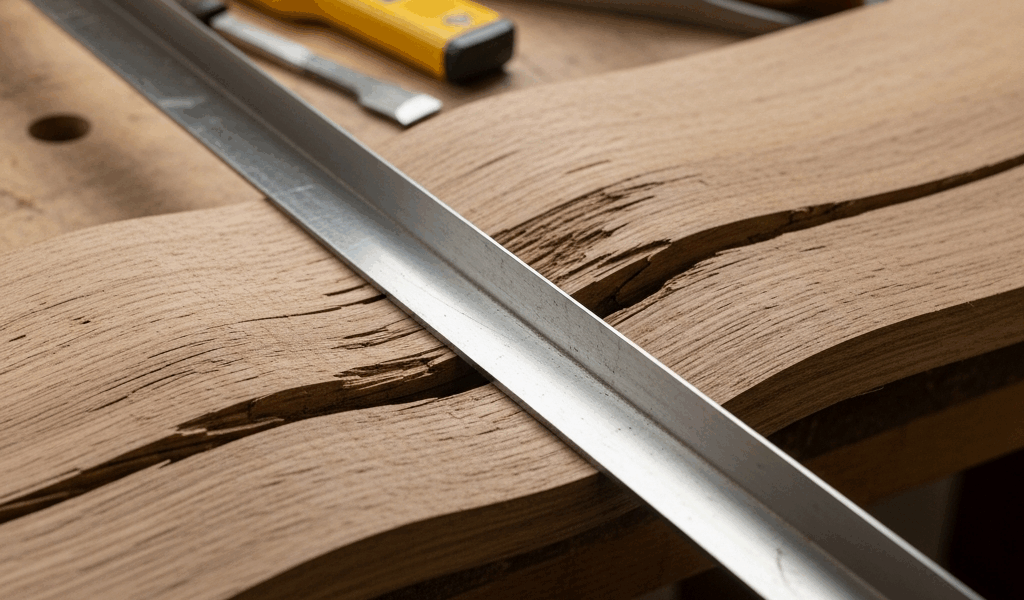
Start with hand planing or a jointer to flatten one face completely. This is your reference surface. Sight down the board against a straightedge or lay it on a flat surface and check for gaps. Don’t skip this. It’s the foundation for everything that follows.
Once one face is flat, run it through your thickness planer with the flat face down. The planer will now skim the opposite face and remove cupping gradually. Set your depth of cut conservatively — 1/32 inch per pass for boards 3/4 inch thick or less. Thinner is safer. I typically do three passes at 1/32 inch rather than one aggressive pass at 3/32 inch.
Watch the grain direction before every pass. If planing against the grain, you’ll get tearout that ruins the surface. Flip the board and feed it in the opposite direction if you see fiber lifting. A few extra passes is worth a clean surface.
The mistake I see constantly: people stop planing too early because “the board looks flat now.” Sight it again with a straightedge. Run your hand across it. If you can feel any curve, keep going. A board that looks flat from one angle still cups under light.
Depth-of-cut guidance for thickness planers on thin stock — never exceed 1/16 inch per pass on boards thinner than 1/2 inch. You’ll choke the machine and get snipe at the edges. Slower feeds, shallow cuts, multiple passes. That’s the formula that works.
Steam and Moisture Flattening for Thicker Stock
Thicker boards — 4/4 walnut, 5/4 white oak, especially figured wood — don’t always respond well to aggressive planing. You’ll lose too much thickness before the center finally flattens. Steam is gentler.
A proper steam box is a sealed chamber where you heat boards to 180–200°F under saturated moisture for 4–8 hours, then immediately flatten them under weight while they cool. The heat and moisture soften the wood fibers, and as it cools, it sets into the new flat shape. This works remarkably well for thick, valuable stock.
You don’t need a commercial setup. I’ve used a simple method at home: damp towels and a bathroom. Wrap the cupped board in damp (not dripping) towels, seal it in a plastic bag, and place it in a hot shower enclosure for 2–3 hours while running hot water periodically. Once the board is hot and the wood feels soft, remove it carefully and clamp it flat between two flat boards or cauls. Weight it down with sandbags or dead weight and let it cool completely — at least 4 hours.
Probably should have opened with this section, honestly. It would save people a lot of planer shavings. But here’s the critical part: this is temporary if you don’t control your environment afterward. Steam flattens a board, but if the humidity returns, the board can cup again. More on that in a moment.
The timeline matters here. You’re not just heating wood; you’re equalizing moisture content across the thickness. A 1-inch thick board needs longer than a 3/4-inch board. Plan for the full equilibration period — the board needs to cool under weight for at least 24 hours before you trust it. I’ve rushed this and had boards spring back partially when I moved them too soon.
Preventing Cupping After Flattening
You flatten a board. It’s perfect. Then three weeks later, it cups again because your shop humidity dropped or spiked. Infuriating, right?
The real solution is controlling wood movement, not just the symptom. Seal all surfaces of your finished project — top, bottom, edges. Paint, lacquer, poly, shellac, wax, oil-poly blends. Whatever you’re using, seal both sides and edges. This slows moisture exchange dramatically. Wood won’t stop moving entirely, but you reduce the speed. A sealed panel in a stable shop environment barely shifts.
During assembly, pay attention to grain direction in panel designs. Orient grain so the widest, most stable pieces run across the project. Face grain in the same direction when possible — it’s a minor detail, but it helps. In a tabletop, run the wide boards perpendicular to the frame so cross-grain movement happens along the shorter dimension.
Spacing and joinery matter too. In frame-and-panel doors, the panel slides in grooves and floats — it can cup slightly without breaking the joint. Don’t glue the floating panel. For solid panels (a tabletop glued edge-to-edge), alternate grain direction from one board to the next. One board grain right-to-left, the next left-to-right. This balances the cupping forces.
When to Flatten, When to Work Around It
Here’s the honesty nobody mentions: some cupping is acceptable.
A board cupped at 1/16 inch across an 8-inch width? That’s barely noticeable when you sight along the board. If it’s destined to be a shelf that won’t hold heavy load, or a panel in a door frame, leave it alone. Flattening costs time and material. Sometimes the board is perfect as-is.
A board cupped at 3/8 inch or more across its width? That’s a problem. It won’t work for table surfaces, won’t close joints, and will be visible. Flatten it.
Medium cupping — 1/8 to 1/4 inch — depends on the project. An interior cabinet panel that nobody sees from the side? Work around it. A piece of walnut for a box lid? Flatten it. Walnut is expensive and deserves the care.
Cost the flattening against the value of the board. If you’re planing away 1/4 inch to flatten a board that’s already thin, and the board cost $8, maybe you use it as-is and design around the curve. If it’s a figured walnut board worth $40, flatten it and be done.
This decision-making saves time and builds real woodworking judgment. Not every board needs to be perfect. The ones that do — flatten them properly using the method that fits your stock thickness. The rest? Build them as they are and move forward.
“`


Stay in the loop
Get the latest artisan furniture makers updates delivered to your inbox.